

| 일 | 월 | 화 | 수 | 목 | 금 | 토 |
|---|---|---|---|---|---|---|
| 1 | 2 | 3 | 4 | 5 | 6 | |
| 7 | 8 | 9 | 10 | 11 | 12 | 13 |
| 14 | 15 | 16 | 17 | 18 | 19 | 20 |
| 21 | 22 | 23 | 24 | 25 | 26 | 27 |
| 28 | 29 | 30 | 31 |
- unreal
- ue5
- coding
- Costume
- UE
- 씨플플
- UnrealEngine
- visualstudio
- charactercreator
- 언리얼엔진
- c++
- animating
- 개발블로그
- 애니메이팅
- ANIMATION
- modeling
- maya
- blueprint
- C언어
- 3dmodeling
- 프로그래밍
- character
- iclone
- 3d
- C
- Programming
- 마야
- autodesk
- cc4
- reallusion
- Today
- Total
개발나라 스용공주
[생활코딩] CSS 왕기초 10장 - Visual Studio Code / CSS의 style 본문
이번 강의는 아래 강의를 바탕으로 작성되었습니다.
(생활코딩)
https://www.youtube.com/watch?v=L41Zjl7XANI&list=PLuHgQVnccGMAnWgUYiAW2cTzSBywFO75B&index=4
[ <style> 태그 ]
css는 html과 다른 문법이므로 html이 이해할 수 있도록 css 문법을 작성해줘야한다.
그러기 위해서 <style> ~ </style> 안에 css를 작성해줘야한다.
- html은 정보전달이라면 css는 디자인에만 집중된 언어이다.
- css를 통해 디자인을 하는 것이 html로 디자인하는 것보다 훨씬 효율적이다.
아래 코드를 보면 <head> ~ </head> 에 <style>이 있는 것을 확인할 수 있다.
<!doctype html>
<html>
<head>
    <title>Introduce Youtube</title>
    <meta charset="utf-8">
    <style>
        h1 {
            color: orange;
        }
    </style>
</head>
<body>
    <h1>Youtuber</h1>
    <ol>
        <li><a href="index.html">Youtube</a></li>
        <li><a href="2.html">Contents</a></li>
    </ol>
    <h2>Introducing My Youtube Contents</h2>
    <P>
        <iframe width="560" height="315" src="https://www.youtube.com/embed/1pBoUsMzqZE?si=Loif9sowegTarQ6S" title="YouTube video player" frameborder="0" allow="accelerometer; autoplay; clipboard-write; encrypted-media; gyroscope; picture-in-picture; web-share" referrerpolicy="strict-origin-when-cross-origin" allowfullscreen></iframe>
    </P>
    <p>Vietnam Danang Vlog -> <a href="https://www.youtube.com/watch?v=1pBoUsMzqZE" title="Danang Vlog">Link</a></p>
</body>
</html>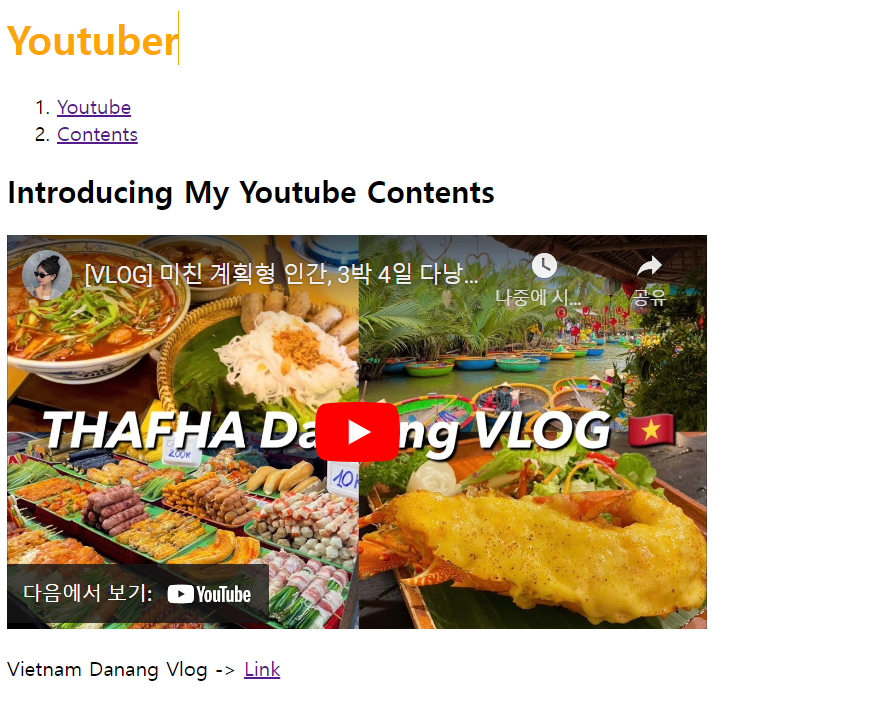
css는 이렇게 h1 즉, 제목을 나타내는 곳들은 이제 색상을 orange로 지정해주겠다고 표시한 것이다.
* 여기서 h1은 '선택자' 라고 불린다.
(선택자는 어디 부분에 어떤 효과를 줄 지에 대한 결정을 하고 어떤 효과를 주는지는 '선언'이라고 불린다.)
<style>
        h1 {
            color: orange;
        }
    </style>
- h1 : 선택자
- {} : 선언
- color : 속성
- orange : 속성값
[ html에 css 곁들이기 ]
위의 방식처럼 특정 태그 전체에 css를 적용하는 방법이 아닌 부분적으로 css를 사용하고 싶다면 아래 코드와 같이 해당 부분에 style을 사용해주는 것이다.
아래 코드는 특정 부분만 빨간색 글씨를 만들어주는 코드이다.
<!doctype html>
<html>
<head>
    <title>Introduce Youtube</title>
    <meta charset="utf-8">
    <style>
        h1 {
            color: orange;
        }
    </style>
</head>
<body>
    <h1>Youtuber</h1>
    <ol>
        <li><a href="index.html" style="color:red">Youtube</a></li>
        <li><a href="2.html">Contents</a></li>
    </ol>
    <h2>Introducing My Youtube Contents</h2>
    <P>
        <iframe width="560" height="315" src="https://www.youtube.com/embed/1pBoUsMzqZE?si=Loif9sowegTarQ6S" title="YouTube video player" frameborder="0" allow="accelerometer; autoplay; clipboard-write; encrypted-media; gyroscope; picture-in-picture; web-share" referrerpolicy="strict-origin-when-cross-origin" allowfullscreen></iframe>
    </P>
    <p>Vietnam Danang Vlog -> <a href="https://www.youtube.com/watch?v=1pBoUsMzqZE" title="Danang Vlog">Link</a></p>
</body>
</html>
이렇게 <a>안에 style="color:red" 를 작성하여 이 부분만 글씨를 빨간색으로 만들어주었다.
* 이때 style=""는 html이고 쌍따옴표 안에 color:red는 css이다.
(style=""안에는 반드시 css 문법이 온다는 html의 약속)
* 이런 경우 위의 style 사용방식과 달리 내가 이미 어떤 위치에 효과를 줄 것인지 지정되어져 있으므로 선택자를 따로 사용할 필요가 없다.
<ol>
        <li><a href="index.html" style="color:red">Youtube</a></li>
        <li><a href="2.html">Contents</a></li>
    </ol>
[ 텍스트 꾸미는 css 속성 ]
<a> 태그가 포함되어져 있는 속성에 모두 밑줄을 없애고 싶을 경우의 코드는 아래와 같다.
<!doctype html>
<html>
<head>
    <title>Introduce Youtube</title>
    <meta charset="utf-8">
    <style>
        h1 {
            color: orange;
        }
        a {
            text-decoration : none;
        }
    </style>
</head>
<body>
    <h1>Youtuber</h1>
    <ol>
        <li><a href="index.html" style="color:red">Youtube</a></li>
        <li><a href="2.html">Contents</a></li>
    </ol>
    <h2>Introducing My Youtube Contents</h2>
    <P>
        <iframe width="560" height="315" src="https://www.youtube.com/embed/1pBoUsMzqZE?si=Loif9sowegTarQ6S" title="YouTube video player" frameborder="0" allow="accelerometer; autoplay; clipboard-write; encrypted-media; gyroscope; picture-in-picture; web-share" referrerpolicy="strict-origin-when-cross-origin" allowfullscreen></iframe>
    </P>
    <p>Vietnam Danang Vlog -> <a href="https://www.youtube.com/watch?v=1pBoUsMzqZE" title="Danang Vlog">Link</a></p>
</body>
</html>
이렇게 a 부분에는 text-decoration을 none으로 변경해 텍스트의 꾸밈을 모두 없애주는 것이다.
<style>
        a {
            text-decoration : none;
        }
    </style>
그런데 만약 빨간 줄 부분에만 다시 밑줄을 긋고 싶다면 아까 빨간 글씨만 부분적으로 만들어준 것과 같은 방식으로 text-decoration을 통해 밑줄을 긋도록 작성하여 아래 코드와 같이 작성해준다.
<li><a href="index.html" style="color:red; text-decoration:underline;">Youtube</a></li>
* css는 문법의 끝맺음을 ;(세미콜론)을 통해 표시해준다.

'WEB > HTML & CSS' 카테고리의 다른 글
| [생활코딩] CSS 왕기초 12장 - Visual Studio Code / 박스 모델 (0) | 2024.06.25 |
|---|---|
| [생활코딩] CSS 왕기초 11장 - Visual Studio Code / CSS 태그 우선순위 (0) | 2024.06.21 |
| [생활코딩] HTML 왕기초 10장 - Visual Studio Code / 유튜브 동영상 바로 실행하기 (0) | 2024.06.20 |
| [생활코딩] HTML 왕기초 9장 - Visual Studio Code / 링크 걸기 (0) | 2024.06.18 |
| [생활코딩] HTML 왕기초 8장 - Visual Studio Code / HTML 구조 (0) | 2024.06.18 |


