
| 일 | 월 | 화 | 수 | 목 | 금 | 토 |
|---|---|---|---|---|---|---|
| 1 | 2 | 3 | ||||
| 4 | 5 | 6 | 7 | 8 | 9 | 10 |
| 11 | 12 | 13 | 14 | 15 | 16 | 17 |
| 18 | 19 | 20 | 21 | 22 | 23 | 24 |
| 25 | 26 | 27 | 28 | 29 | 30 | 31 |
- 마야
- autodesk
- 애니메이팅
- 3dmodeling
- UnrealEngine
- c++
- 언리얼엔진
- HTML
- js
- 오블완
- animating
- Costume
- reallusion
- charactercreator
- 개발블로그
- JavaScript
- cc4
- ue5
- 프로그래밍
- 티스토리챌린지
- C
- visualstudio
- modeling
- iclone
- ANIMATION
- character
- C언어
- unreal
- 3d
- 개발
- Today
- Total
개발나라 스용공주
[DirectX] 등반게임 만들기 본문
> 플레이 영상 <
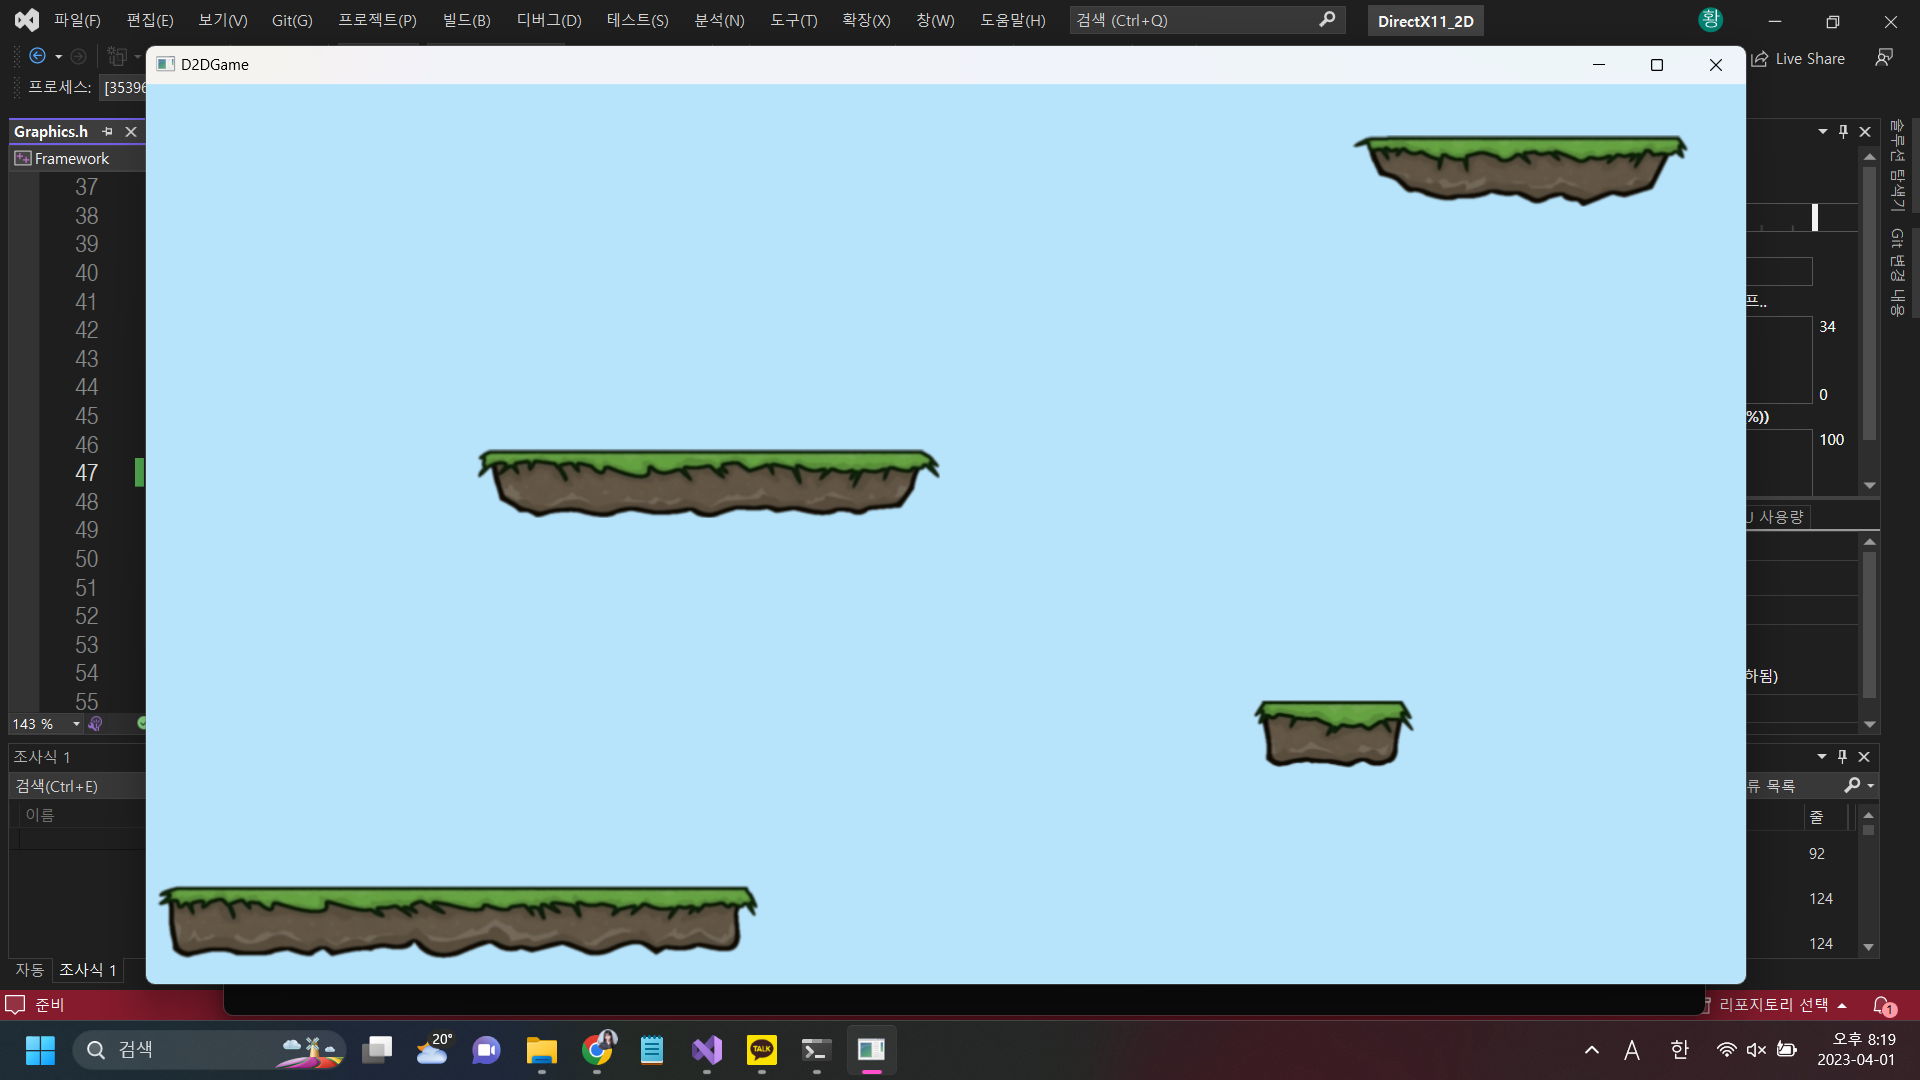
[ 1. 화면 아트 요소 배치 ]
void PngDemo::Init()
{
	br1 = new TextureRect(Vector3(250, 50, 0), Vector3(481, 61, 1), .0f, TexturePath + L"ground_01.png");
	br2 = new TextureRect(Vector3(950, 200, 0), Vector3(133, 54, 1), .0f, TexturePath + L"ground_02.png");
	br3 = new TextureRect(Vector3(450, 400, 0), Vector3(371, 55, 1), .0f, TexturePath + L"ground_03.png");
	br4 = new TextureRect(Vector3(1100, 650, 0), Vector3(269, 57, 1), .0f, TexturePath + L"ground_04.png");
}

//private에 선언해둔 br1, br2, br3, br4는 장애물벽의 변수들이고 이들의 위치와 크기와 회전값을 설정
D3DXCOLOR clearColor = 0xffB7E4FB; //배경색을 하늘색으로 변경해주는 코드
[ 2. 1회 떨어지기 구현 ]
void TextureRect::WMove()
{
	position.y -= 1;
}

//WMove()라는 함수를 만들어 이 함수가 실행되면 position의 y값이 1씩 뺀 값이 position.y에
//저장되며 위 동영상과 같이 밑으로 내려가는 시각 효과를 보여줌
[ 3. 반복적으로 떨어지기 구현 ]
void TextureRect::WMove()
{
	position.y -= 1;

	if (position.y == 0)
		position.y += WinMaxHeight;
}
if문으로 position.y의 값이 0이 되었을 때, 즉 장애물 벽이 화면 맨 끝인 바닥에 닿았을 때 WinMaxHeight를 다시 더해주어 화면 위에서부터 다시 나오는 것처럼 보이는 시각 효과를 보여준다. (나는 화면 크기의 가로와 세로를 1280X720으로 설정해두었고 WinMaxHeight는 화면의 세로가 720이라는 값을 가지고 있다.)
[ 4. 캐릭터 움직임 구현 ]
플레이어는 중력에 의해 떨어지는 기본 속성을 가진다.
void TextureRect::Move()
{
	position.y -= 1;
}
플레이어는 키보드의 좌우 화살표를 누르면 좌우로 움직이고 스페이스바를 누르면 점프를 한다.
이때 좌우화살표와 스페이스바는 '가상 키 코드'인 VK_LEFT, VK_RIGHT, VK_SPACE를 사용해준다.
void TextureRect::Move()
{
	position.y -= 1;

	if (Keyboard::Get()->Press(VK_LEFT))
		position.x -= 10;

	if (Keyboard::Get()->Press(VK_RIGHT))
		position.x += 10;

	if (Keyboard::Get()->Press(VK_SPACE))
		position.y += 10;
	position.y -= 1;	//점프한 뒤 다시 중력의 영향을 받아야함
}
[ 5. 충돌체 인식 구현 ]
캐릭터에 벽이 충돌체임을 인식시켜주지 않으면 아래 동영상과 같이 장애물벽에 안착되지 않고 장애물벽과 이미지가 겹쳐지는 것을 확인할 수 있다.
void TextureRect::DMove()
{
    position.y -= 1;
    //-1로 작성해주면 장애물벽과 내려가는 속도가 동일해 안착 후 같이 내려가는거처럼 보여짐

    if (Keyboard::Get()->Press(VK_LEFT))
        position.x -= 10;

    if (Keyboard::Get()->Press(VK_RIGHT))
        position.x += 10;

    if (Keyboard::Get()->Press(VK_SPACE))
        position.y += 10;
}
void PngDemo::Update()
{
ch1->Update();
if (BoundingBox::OBB(br1->GetCollision(), ch1->GetCollision()) == true ||
BoundingBox::OBB(br2->GetCollision(), ch1->GetCollision()) == true ||
BoundingBox::OBB(br3->GetCollision(), ch1->GetCollision()) == true ||
BoundingBox::OBB(br4->GetCollision(), ch1->GetCollision()) == true)
ch1->DMove();
else
ch1->Move(); //충돌체 인식의 if문
br1->Update();
br1->WMove();
br2->Update();
br2->WMove();
br3->Update();
br3->WMove();
br4->Update();
br4->WMove();
ch1->Update(); //Move()는 여기에서 위에서만 사용해준다.
}
DMove()함수를 만든 뒤 if문으로 각 4개의 충돌체(장애물 벽)를 플레이어가 만났을 때 DMove()를 실행시켜 플레이어가 안착한 뒤 장애물 벽과 같이 내려가는 것처럼 보이게 만들어주고 그게 아닌 else의 상황의 경우 Move()를 사용하여 장애물벽보다 플레이어가 더 빠르게 떨어지는 이동 함수가 사용된다.
[ 6. 게임오버 화면 구현 ]
플레이어가 화면의 바닥에 닿을 경우 게임오버가 되어야한다. 플레이어가 화면 바닥에 닿았을 떄 게임오버 화면을 띄워주면 된다.
void PngDemo::Init()
{
	br1 = new TextureRect(Vector3(250, 50, 0), Vector3(481, 61, 1), .0f, TexturePath + L"ground_01.png");
	br2 = new TextureRect(Vector3(950, 200, 0), Vector3(133, 54, 1), .0f, TexturePath + L"ground_02.png");
	br3 = new TextureRect(Vector3(450, 400, 0), Vector3(371, 55, 1), .0f, TexturePath + L"ground_03.png");
	br4 = new TextureRect(Vector3(1100, 650, 0), Vector3(269, 57, 1), .0f, TexturePath + L"ground_04.png");

	ch1 = new TextureRect(Vector3(250, 250, 0), Vector3(80, 130, 1), .0f, TexturePath + L"Kuromi.png");
	Gover = new TextureRect(Vector3(WinMaxWidth/2, WinMaxHeight/2, 0), Vector3(WinMaxWidth, WinMaxHeight, 1), .0f, TexturePath + L"Gover.png");
}
먼저 Gover에 게임오버 화면 이미지를 화면 전체 크기에 맞춰 초기화 시켜준다.
void PngDemo::Update()
{
	ch1->Update();

	if (BoundingBox::OBB(br1->GetCollision(), ch1->GetCollision()) == true ||
		BoundingBox::OBB(br2->GetCollision(), ch1->GetCollision()) == true ||
		BoundingBox::OBB(br3->GetCollision(), ch1->GetCollision()) == true ||
		BoundingBox::OBB(br4->GetCollision(), ch1->GetCollision()) == true)
		ch1->DMove();
	else
		ch1->Move();


	br1->Update();
	br1->WMove();

	br2->Update();
	br2->WMove();

	br3->Update();
	br3->WMove();

	br4->Update();
	br4->WMove();

	ch1->Update();

	Gover->Update();
}
Gover()를 업데이트 시켜주는 부분
Vector2 GetPosition() { return { position.x, position.y }; }GetPosition()에 position.x와 position.y의 값을 작성해둠
void PngDemo::Render()
{
	br1->Render();
	br2->Render();
	br3->Render();
	br4->Render();
	ch1->Render();
	if (ch1->GetPosition()[1] <= 0)
		Gover->Render();
}
if문을 보면 ch1(플레이어)가 GetPosition()의 배열 1의 위치가 0이라면 Gover의 Render()를 실행시켜준다고 하였는데 여기에서 위에 정의해둔 GetPosition()은 배열 1 위치에 position.y가 들어있으므로 플레이어의 위치가 0보다 작거나 같다면 Render()를 실행하여 게임오버 이미지를 실행시켜주도록 해준다.